Creating a ERC20 token
Introduction
In this tutorial, we will be creating a ERC20 token using the OpenZeppelin framework and HardHat. You should follow Chapter 2 to setup your environment.
What is ERC20?
ERC20 is a standard for tokens on the Ethereum blockchain. It defines a set of rules that all tokens must follow so that they are compatible with each other. For example, if you create a token that follows the ERC20 standard, you can interact with any other ERC20 token using the same functions and methods.
Creating a new file
Open the contracts folder and create a new file called MyToken.sol.
This is where we will write our smart contract.
test/
├── contracts
│   ├── MyToken.sol #<--- create this file
├── scripts
├── test
├── hardhat.config.ts
├── package.json
├── tsconfig.json
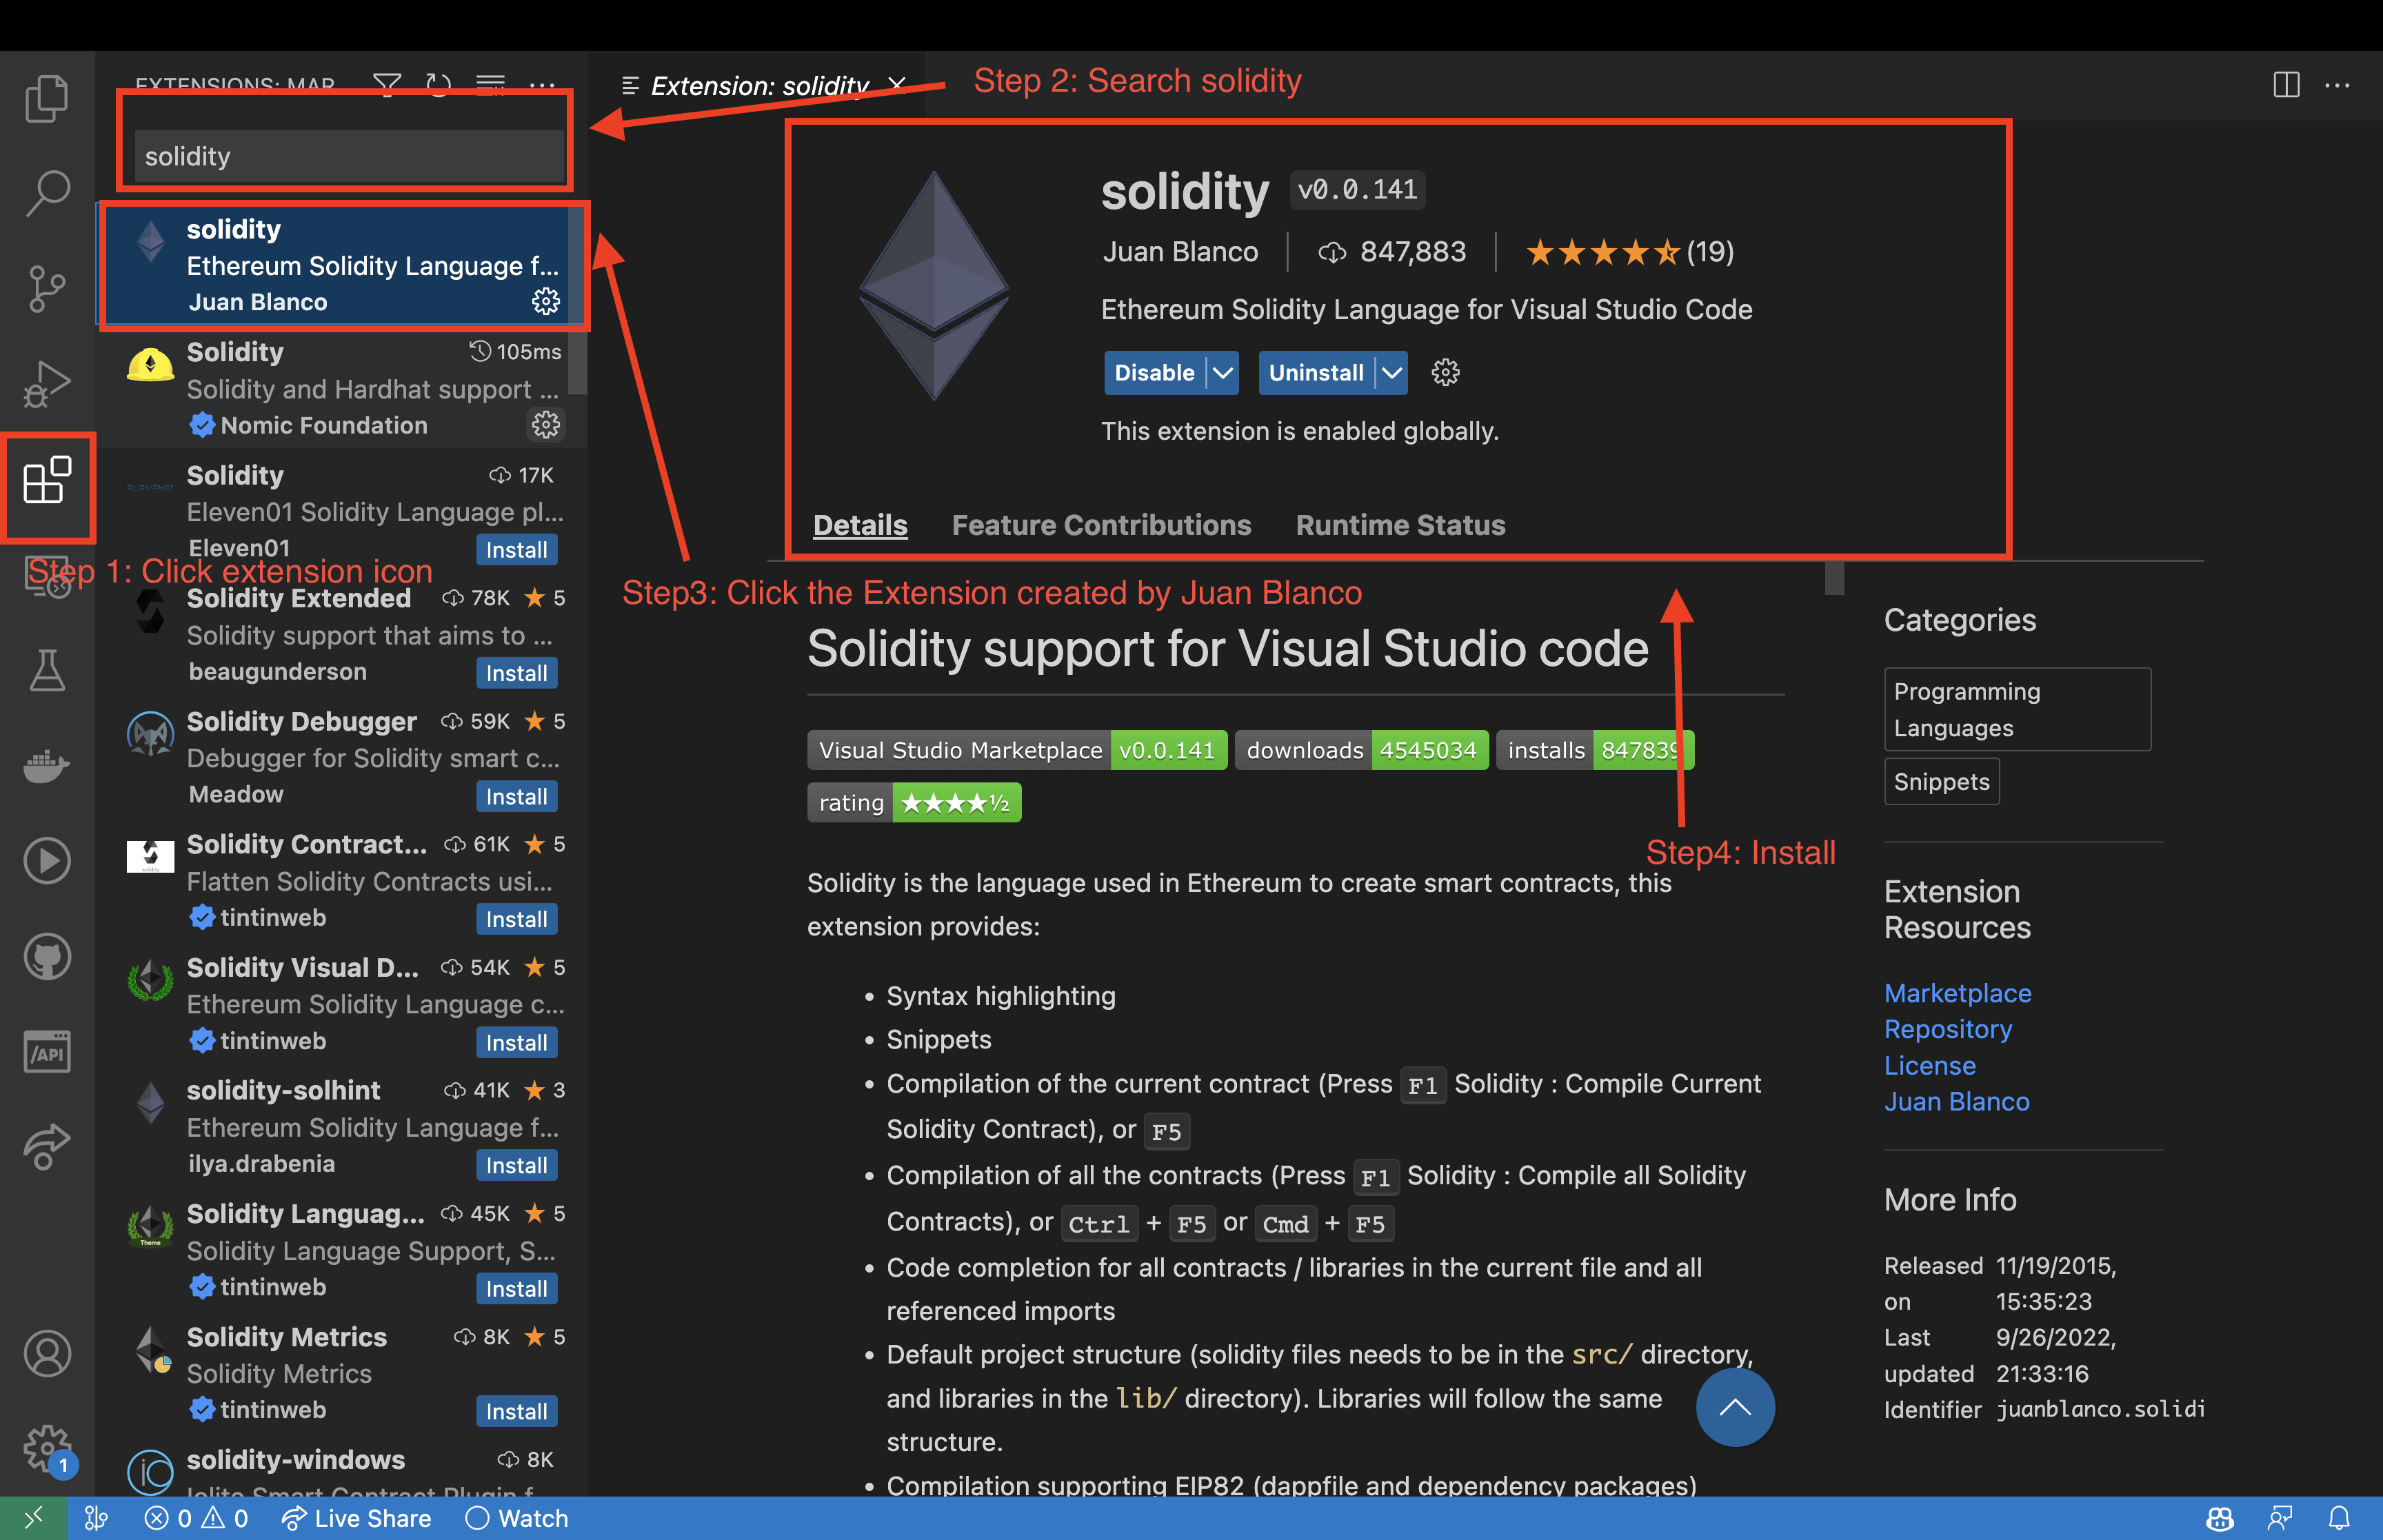
Install VSCode extension for Solidity (optional)
If you are using VSCode, you can install the Solidity extension to get syntax highlighting and other features.
Writing the smart contract
Defining the dependencies
Open the MyToken.sol file and paste the following code which will define the version of Solidity that we are using.
// SPDX-License-Identifier: UNLICENSED
pragma solidity ^0.8.9;
Then we will import the openzeppelin-solidity/contracts/token/ERC20/ERC20.sol
file using the import keyword which similar to import in TypeScript and Python.
import "hardhat/console.sol";
import "@openzeppelin/contracts/token/ERC20/ERC20.sol";
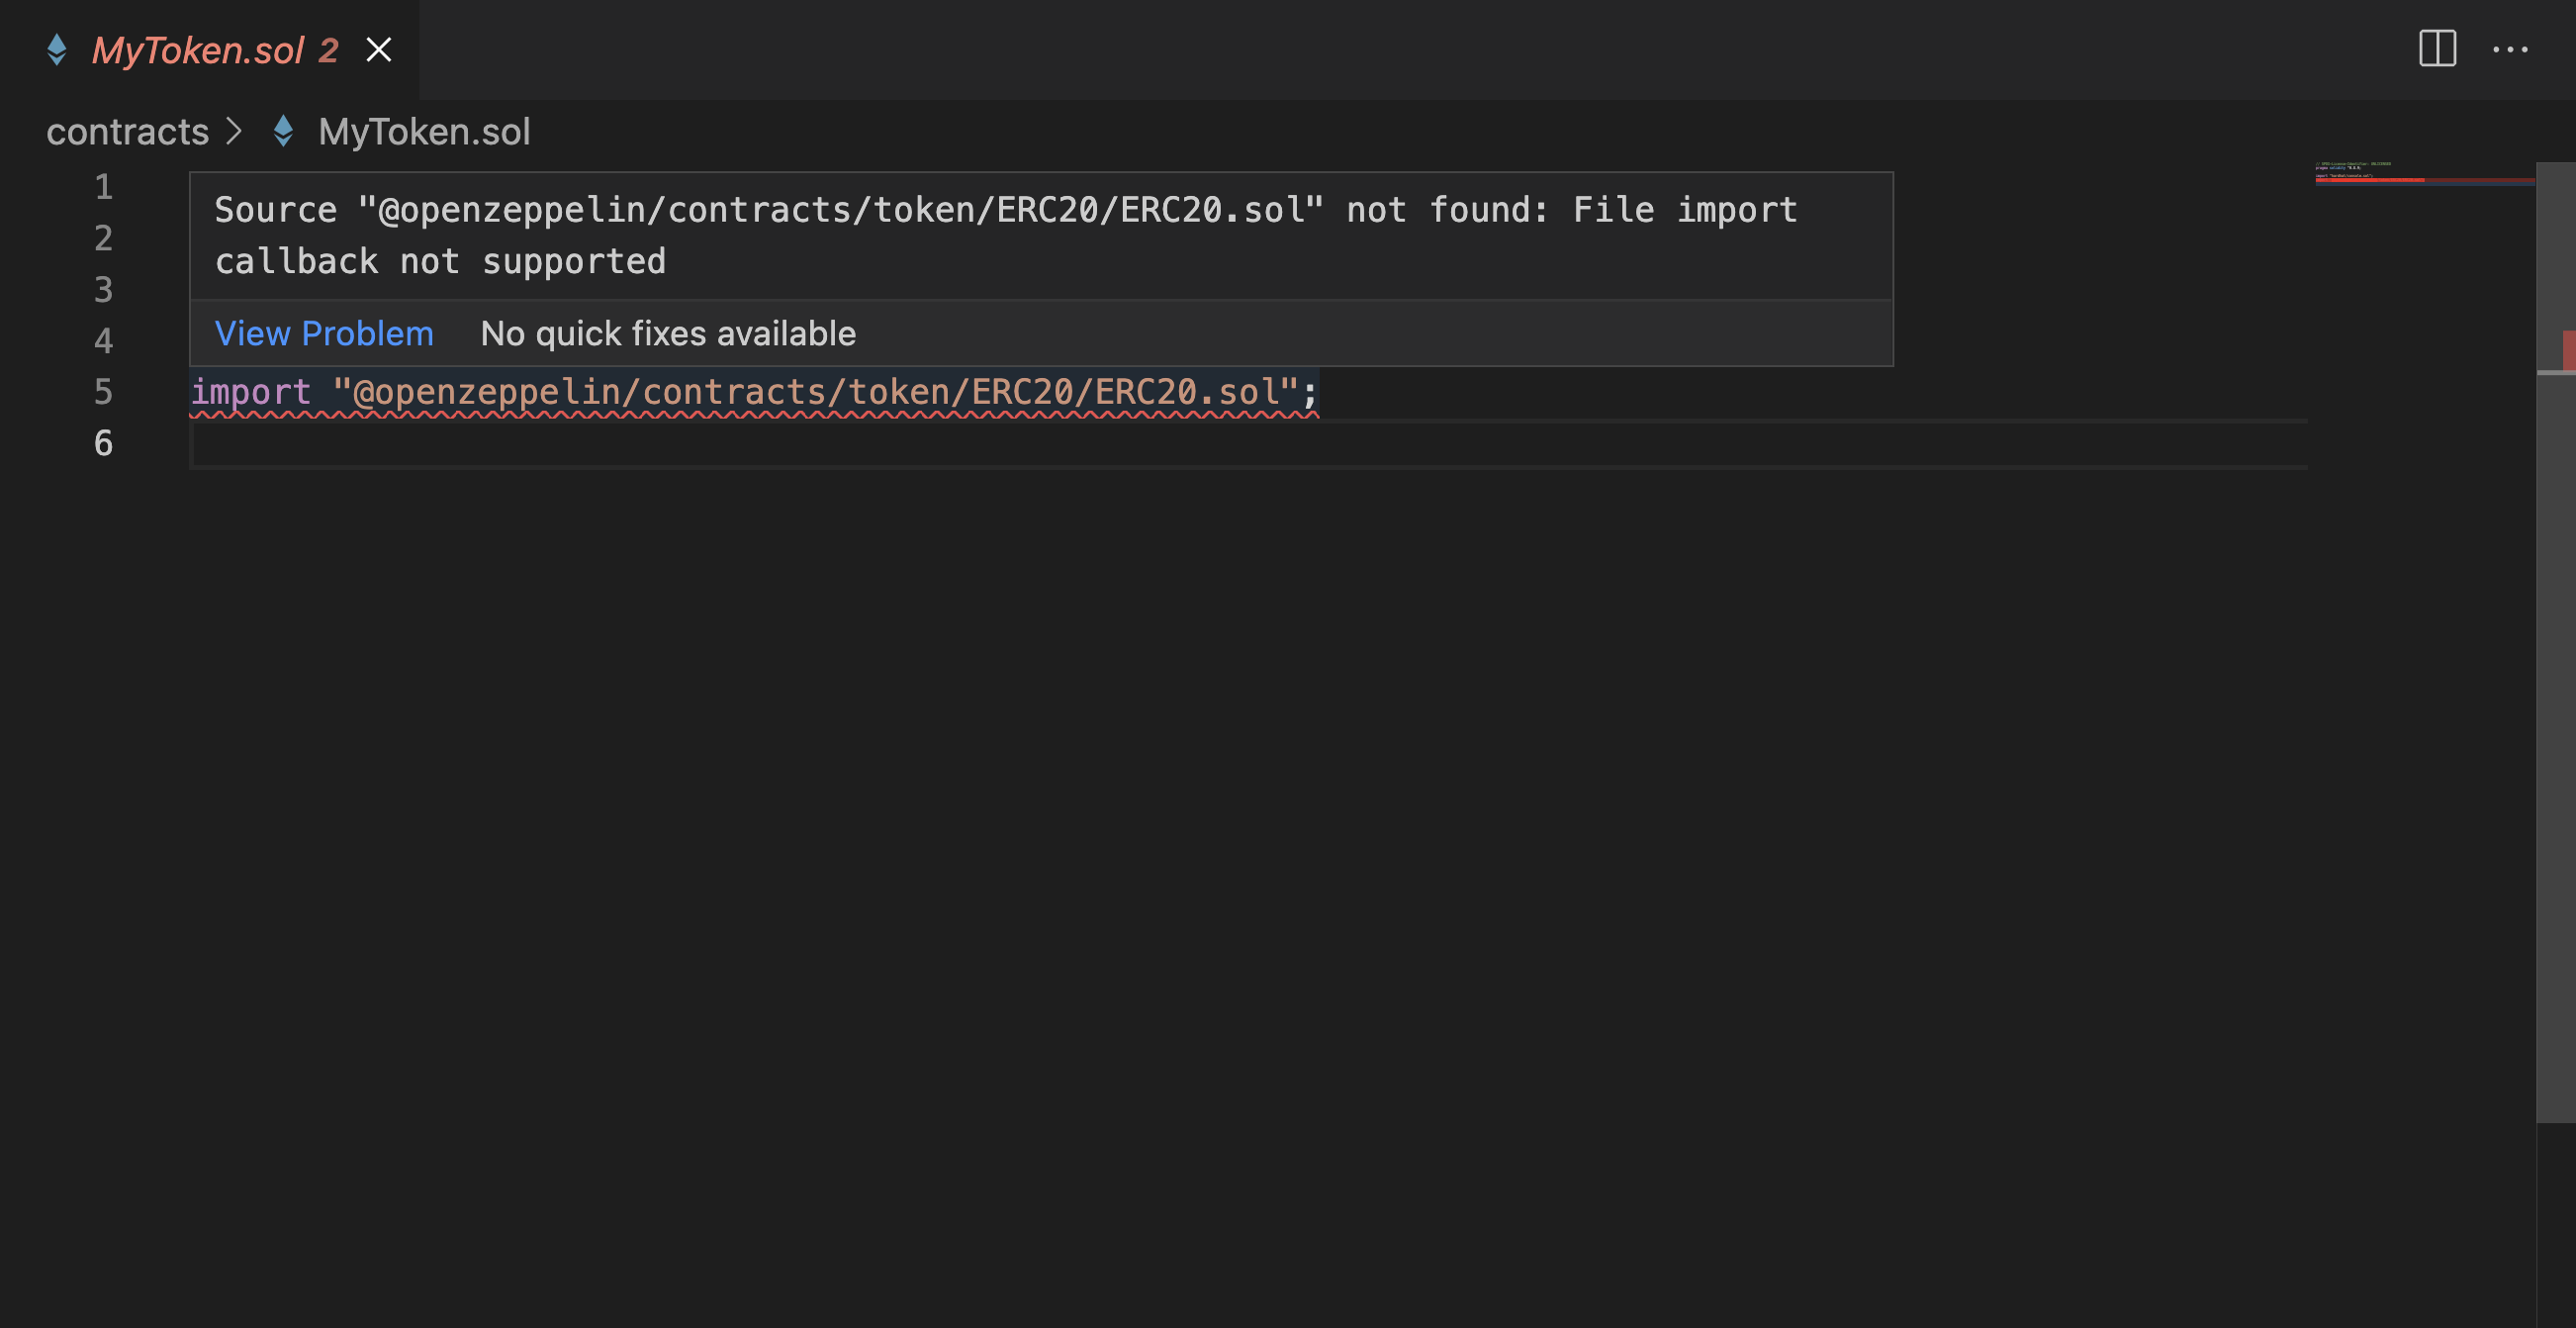
Keep in mind that since we installed the OpenZeppelin framework using NPM
our solidity compiler will find the @openzeppelin/contracts/token/ERC20/ERC20.sol package in the node_modules folder.
If you did not install the openzeppelin package, your solidity compiler will raise an error.
Keep in mind that since we installed the OpenZeppelin framework using NPM
our solidity compiler will find the @openzeppelin/contracts/token/ERC20/ERC20.sol package in the node_modules folder.
If you did not install the openzeppelin package, your solidity compiler will raise an error.
Defining the contract
Now we will define our contract. In this example, we will define a token called MSBD5017 token
with symbol name M57 and a total supply of 1000 tokens.
contract MSBD5017Token is ERC20 {
    constructor() ERC20("MSBD5017", "M57") {
        _mint(msg.sender, 1000);
    }
}
The first line of code tells the compiler that our contract is inheriting from the ERC20 contract from openzeppelin package.
contract MSBD5017Token is ERC20 {
The next line of code is the constructor of our contract and called super constructor of the ERC20 contract.
The super constructor takes two parameters, the name of the token and the symbol of the token in this case MSBD5017 and M57.
constructor() ERC20("MSBD5017", "M57") {
The last line of code is the line that actually creates the token and assigns the total supply to the address that deployed the contract.
In this case, we are assigning the total supply to the address that deployed the contract.
Keep in mind that msg.sender is the address of the account that deployed the contract.
And the reason why this is fixed supply token is that we do not provide any other way to mint a new token,
so only the msg.sender have the token.
_mint(msg.sender, 1000);
That's it, we have created our first ERC20 token.
Complete code
// SPDX-License-Identifier: UNLICENSED
pragma solidity ^0.8.9;

import "hardhat/console.sol";
import "@openzeppelin/contracts/token/ERC20/ERC20.sol";

contract MSBD5017Token is ERC20 {
    constructor() ERC20("MSBD5017", "M57") {
        _mint(msg.sender, 1000);
    }
}
Writing the test
Now we will write a test to test our smart contract.
Open the test folder and create a new file called MyToken.test.ts.
test/
├── contracts
├── scripts
├── test
│   ├── MyToken.test.ts #<--- create this file
├── hardhat.config.ts
├── package.json
├── tsconfig.json
Defining the dependencies
We will first define the dependencies that we will need for our test.
import { expect } from "chai";
import { ethers } from "hardhat";
Writing the test
Now we will write the test. We will first deploy the contract and then we will test the contract.
describe("Given MyToken", function () {
  it("Owner should get the initial supply", async function () {
    const [owner] = await ethers.getSigners();
    const MyToken = await ethers.getContractFactory("MSBD5017Token");
    const myToken = await MyToken.deploy();
    await myToken.deployed();
    const ownerBalance = await myToken.balanceOf(owner.address);
    expect(ownerBalance).to.equal(1000);
  });
});
Explanation
The first line of code is the describe block which is used to group the tests.
In this case, we are grouping the tests for the MyToken contract. We can put some useful
message in the describe block to describe what we are testing.
describe("Given MyToken", function () {
The next line of code is the it block which is used to define a test.
it("Owner should get the initial supply", async function () {
The next line of code is the const [owner] = await ethers.getSigners();
which is used to get the list of accounts that are available in the network.
Since we are running in a testing environment, we will use the default account provided by HardHat.
const [owner] = await ethers.getSigners();
The next line of code is the const MyToken = await ethers.getContractFactory("MSBD5017Token");
which is used to get the contract factory for the MSBD5017Token contract.
The contract name must match the name of the contract in the MyToken.sol file.
const MyToken = await ethers.getContractFactory("MSBD5017Token");
The next line of code is the const myToken = await MyToken.deploy();
which is used to deploy the contract.
const myToken = await MyToken.deploy();
The next line of code is the await myToken.deployed(); which is used to wait for the contract to be deployed.
await myToken.deployed();
The next line of code is the const ownerBalance = await myToken.balanceOf(owner.address);
which is used to get the balance of the owner.
const ownerBalance = await myToken.balanceOf(owner.address);
The next line of code is the expect(ownerBalance).to.equal(1000); which is used to test the balance of the owner.
expect(ownerBalance).to.equal(1000);
Running the test
Now we will run the test. Open the terminal and run the following command.
npx hardhat test
Deploying the contract
Get your private key
In this section, we will use MetaMask as your primary wallet. If you do not have MetaMask installed, please install it first.
First open the MetaMask
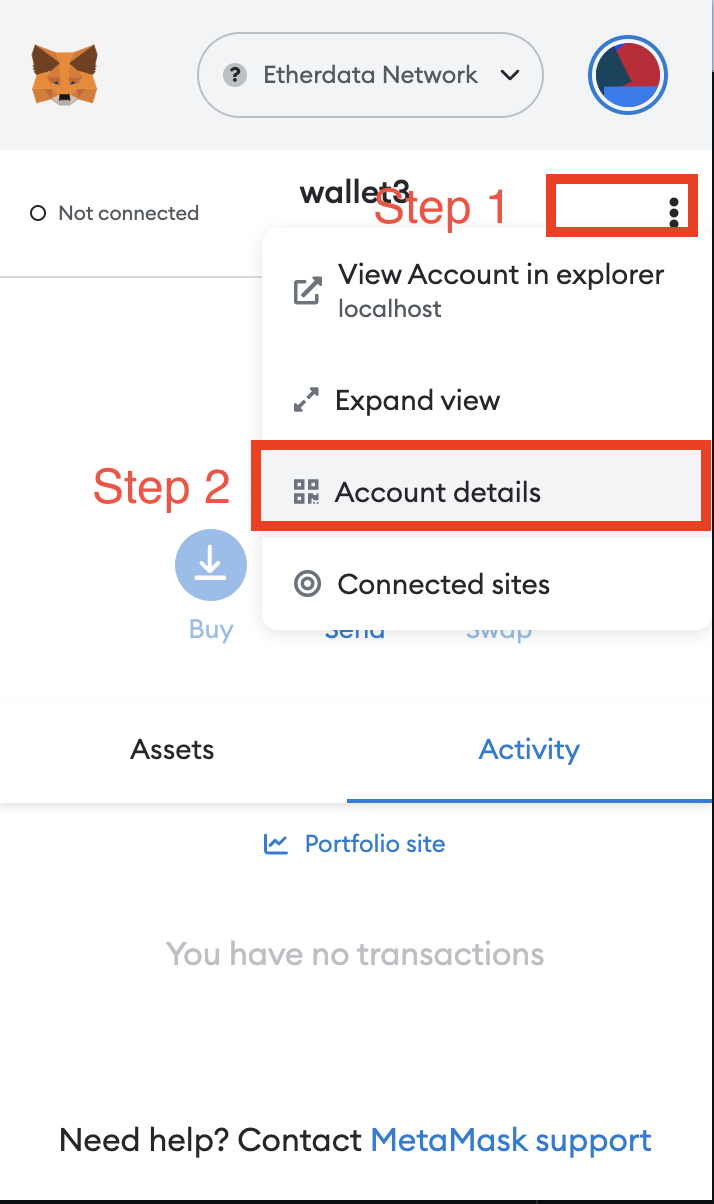
Then click the Export Private Key button
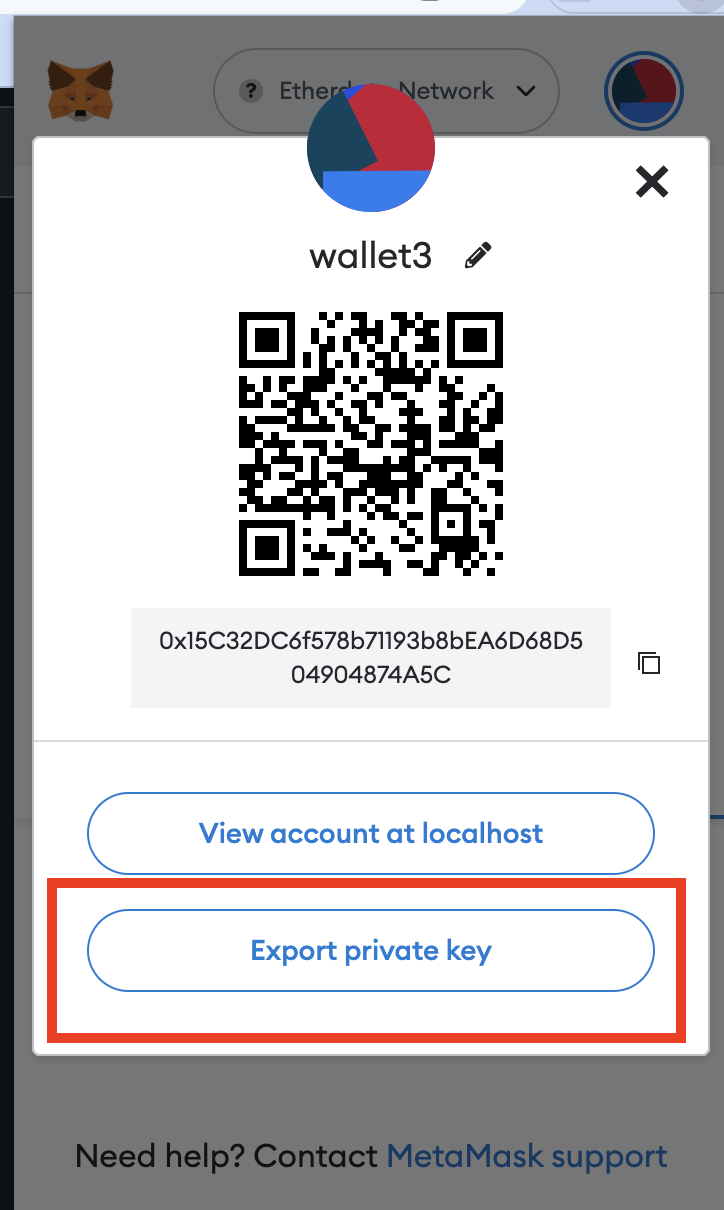
Then copy the private key
Create a .env file
We will first create a .env file in the root folder of the project
so that we can store the private key of the account that we will use to deploy the contract.
Copy the following line and paste it in the .env file.
Remember to replace the YOUR_PRIVATE_KEY with your own private key.
PK=YOUR_PRIVATE_KEY
Install dotenv package
Run the following command to install the dotenv package.
npm install dotenv
Modify the hardhat.config.ts file
We are using Testnet for the rest of the chapter.
Replace the content of the hardhat.config.ts file with the following code.
import { HardhatUserConfig } from "hardhat/config";
import "@nomicfoundation/hardhat-toolbox";
import * as dotenv from "dotenv";

dotenv.config();

const config: HardhatUserConfig = {
  solidity: "0.8.17",
  networks: {
    etherdata: {
      url: "http://rpc.debugchain.net",
      accounts: process.env.PK !== undefined ? [process.env.PK] : [],
    },
  },
};

export default config;
accounts: process.env.PK !== undefined ? [process.env.PK] : [], this line of code is used to get the private key from the .env file.
Modify the scripts/deploy.ts file
Replace the content of the scripts/deploy.ts file with the following code.
import { ethers } from "hardhat";

async function main() {
  const Contract = await ethers.getContractFactory("MSBD5017Token");
  const contract = await Contract.deploy();

  await contract.deployed();
  console.log("Contract deployed to:", contract.address);
}

// We recommend this pattern to be able to use async/await everywhere
// and properly handle errors.
main().catch((error) => {
  console.error(error);
  process.exitCode = 1;
});
As you can see, we are using almost the same code as the test to deploy the contract.
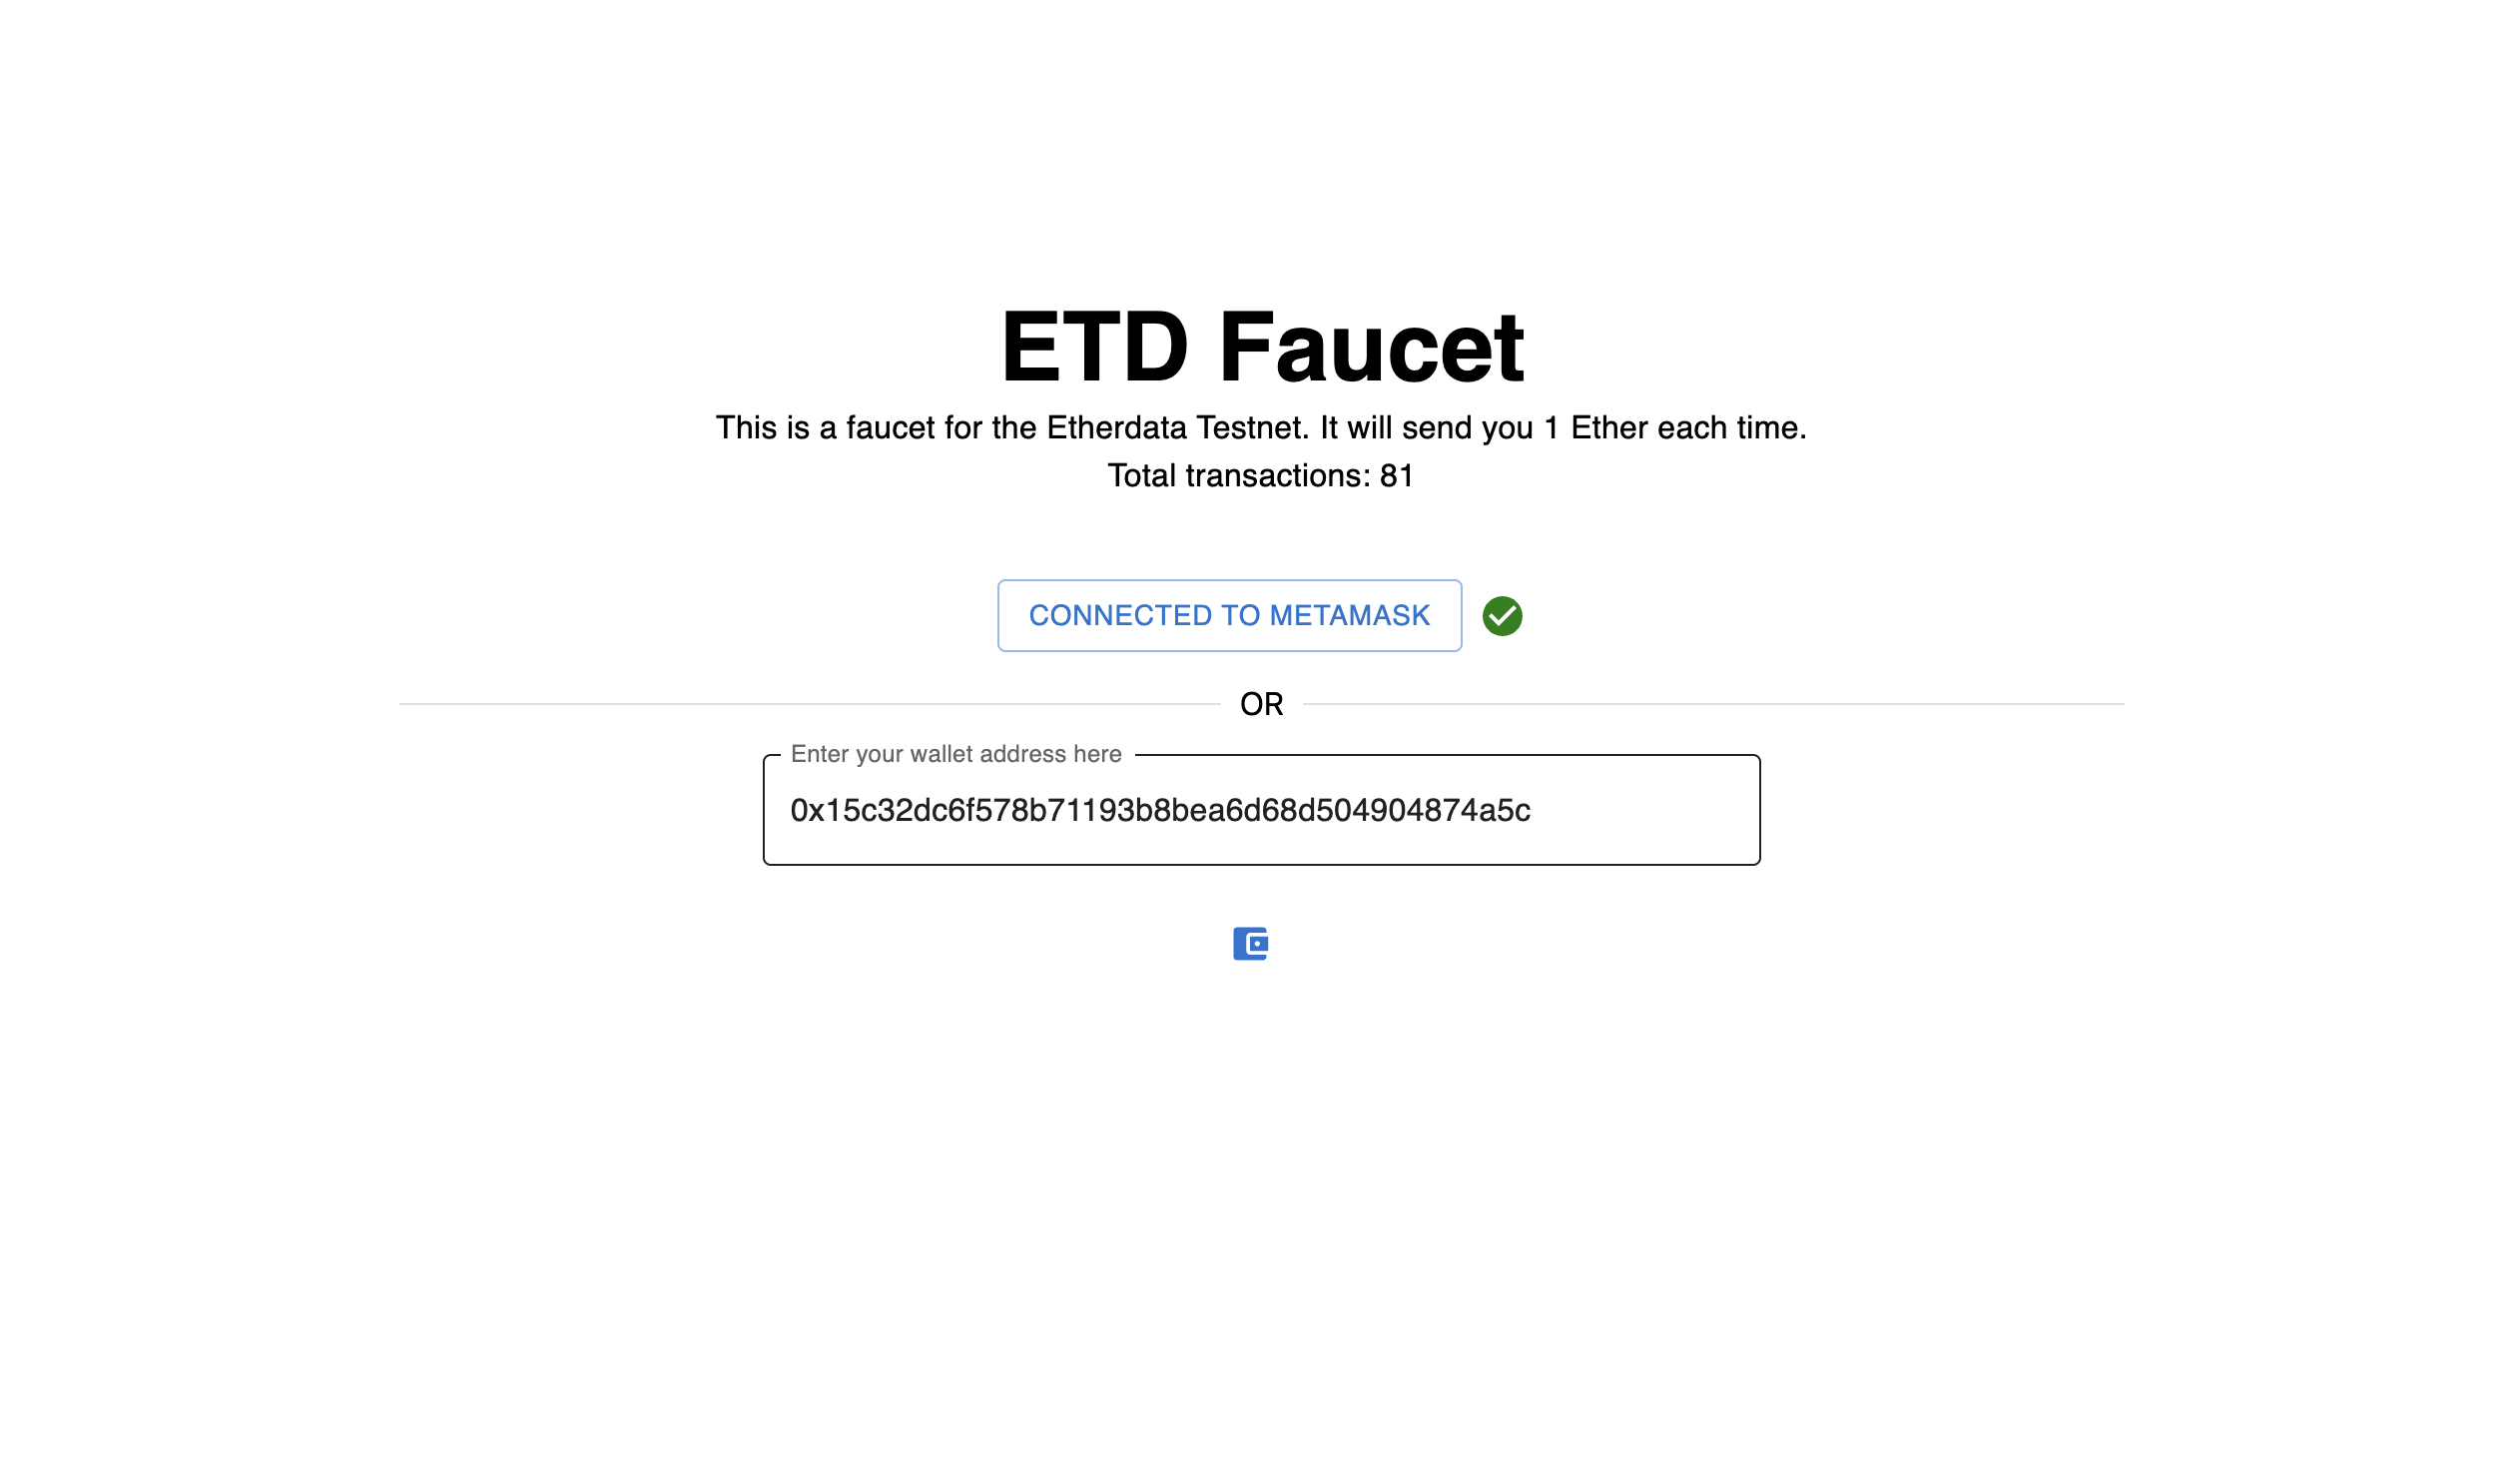
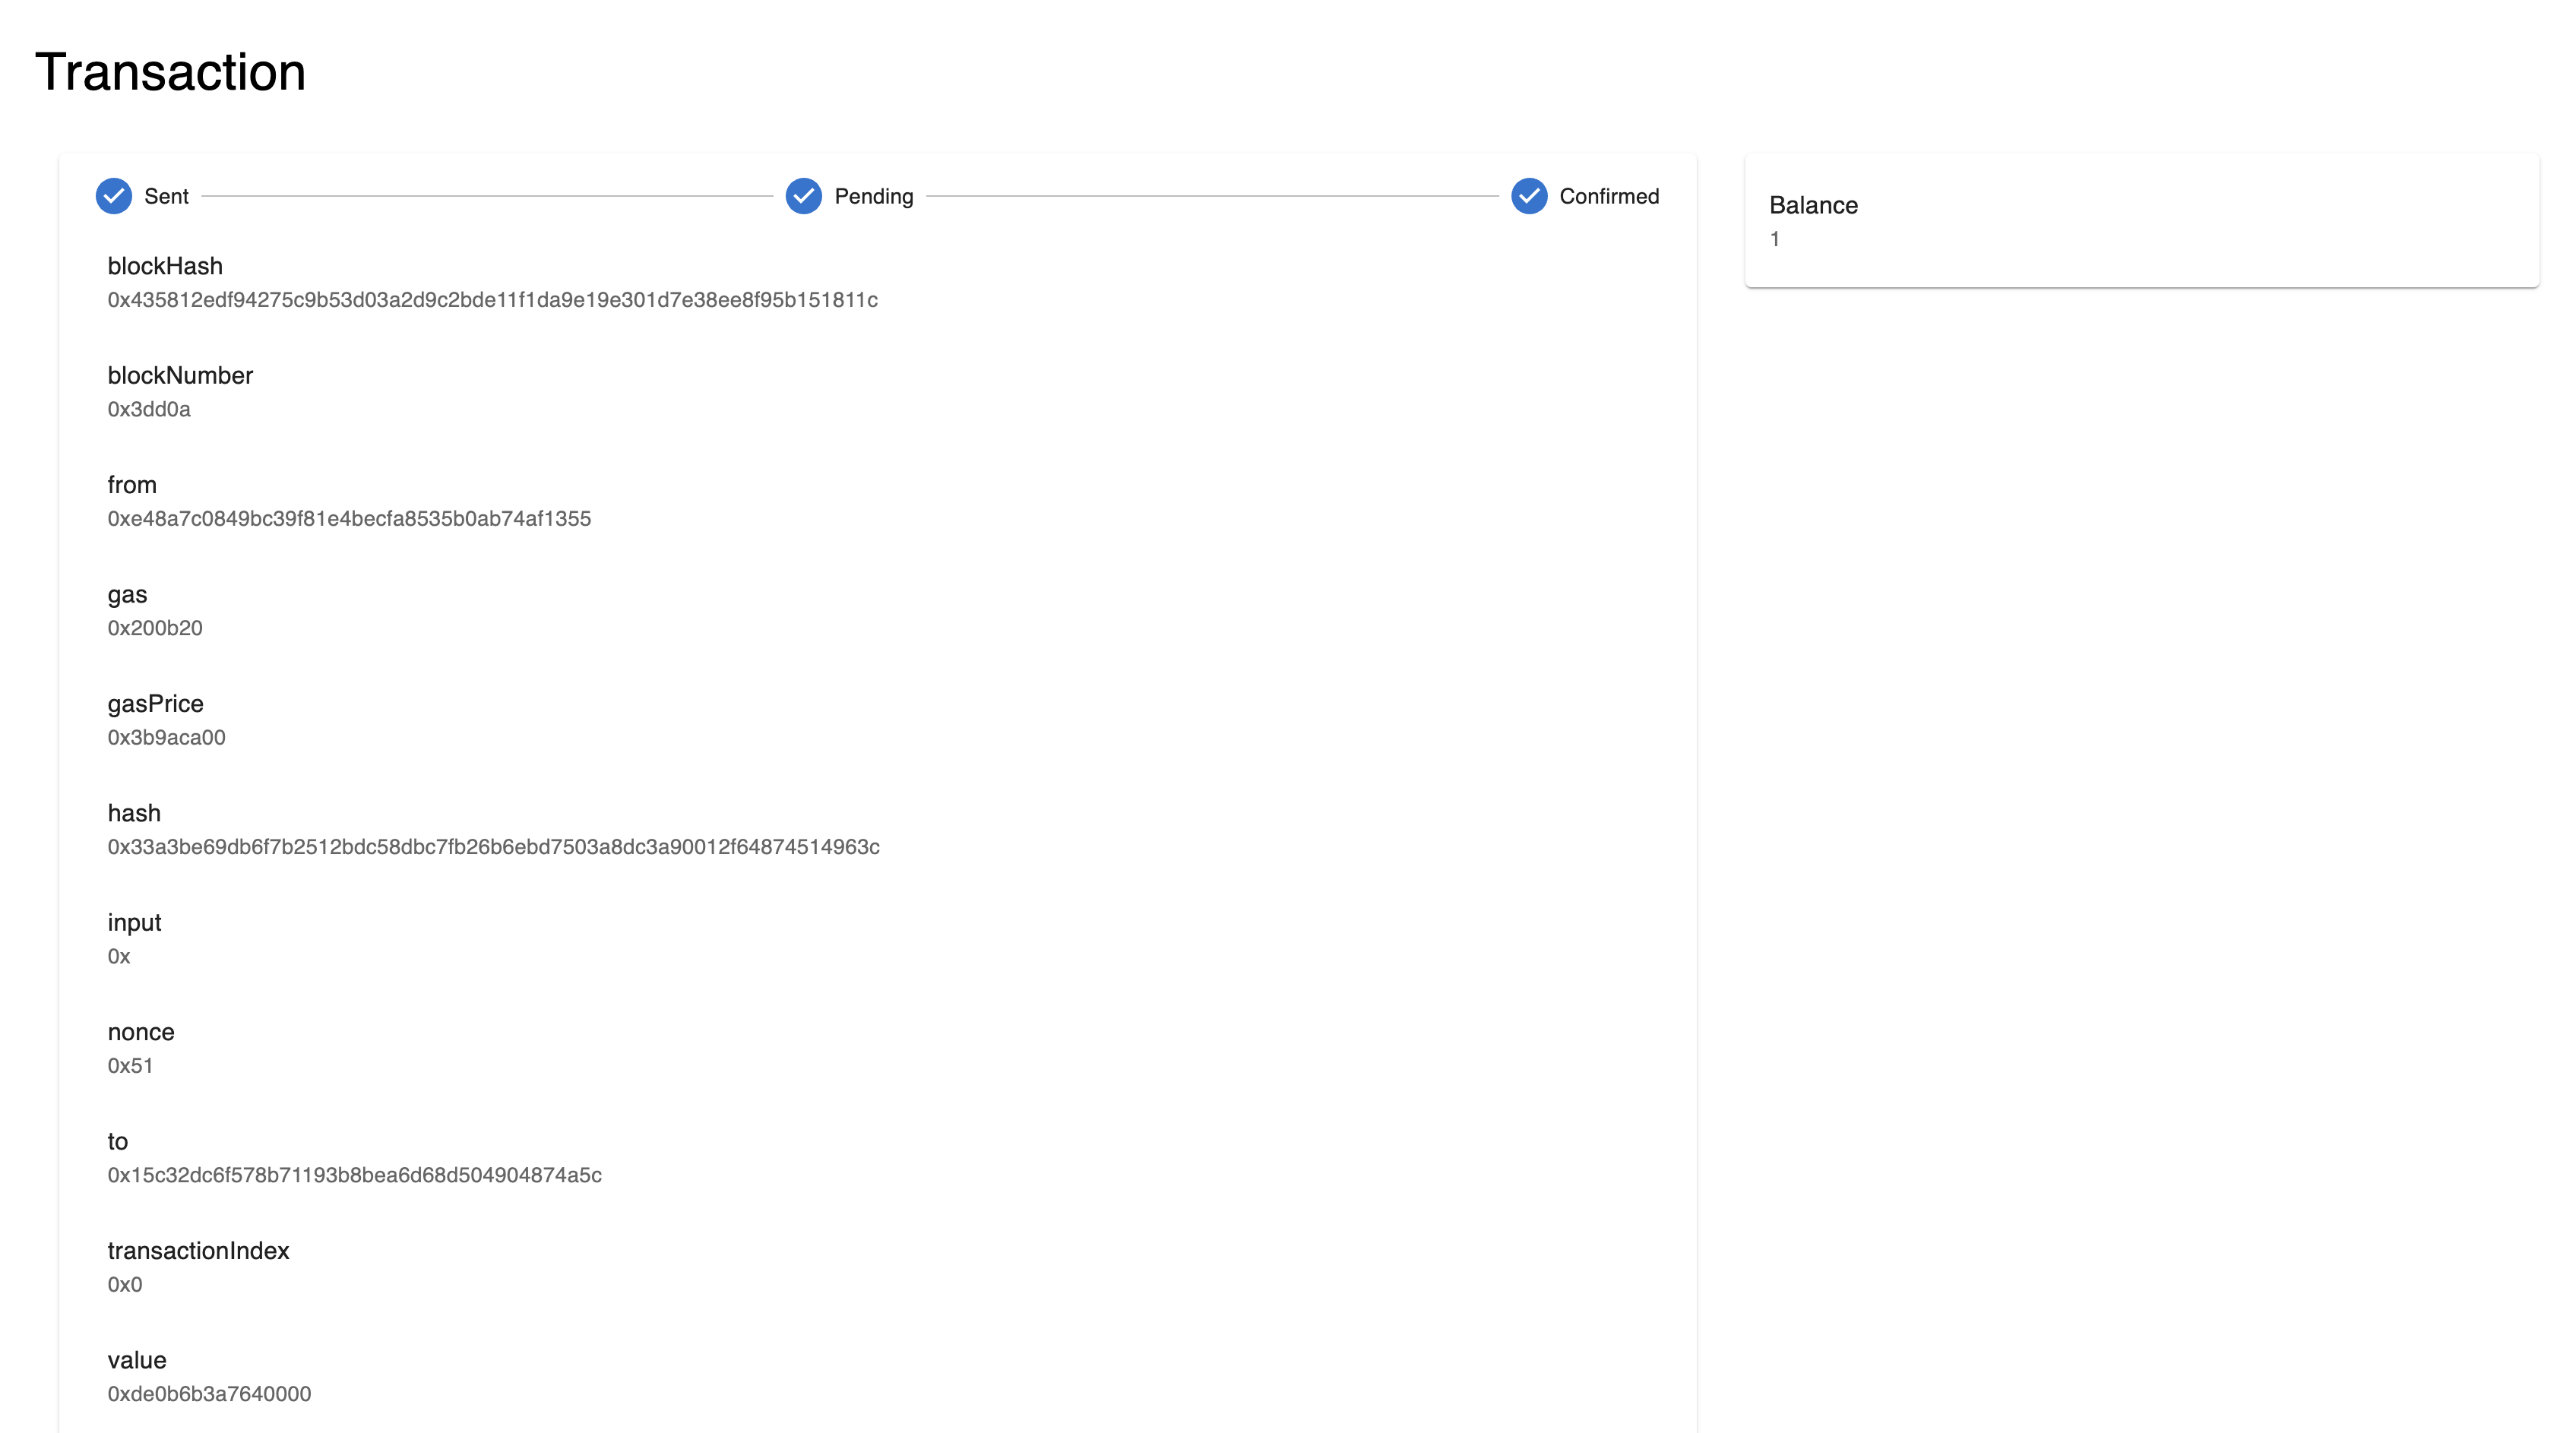
Claim your Ether from the faucet
Go to our faucet website to claim your testing Ether.
Deploy the contract
Run the following command to deploy the contract.
npx hardhat run scripts/deploy.ts --network etherdata
Congratulations! You have successfully deployed your first smart contract. You can download the source code of this tutorial from here.