Creating a Web3 Wallet
In order to start your web3 journey, you need to create your wallet first either using MetaMask or using ethers.js. We will talk about creating wallet using MetaMask first and then we will talk about creating wallet using ethers.js.
Creating wallet using MetaMask
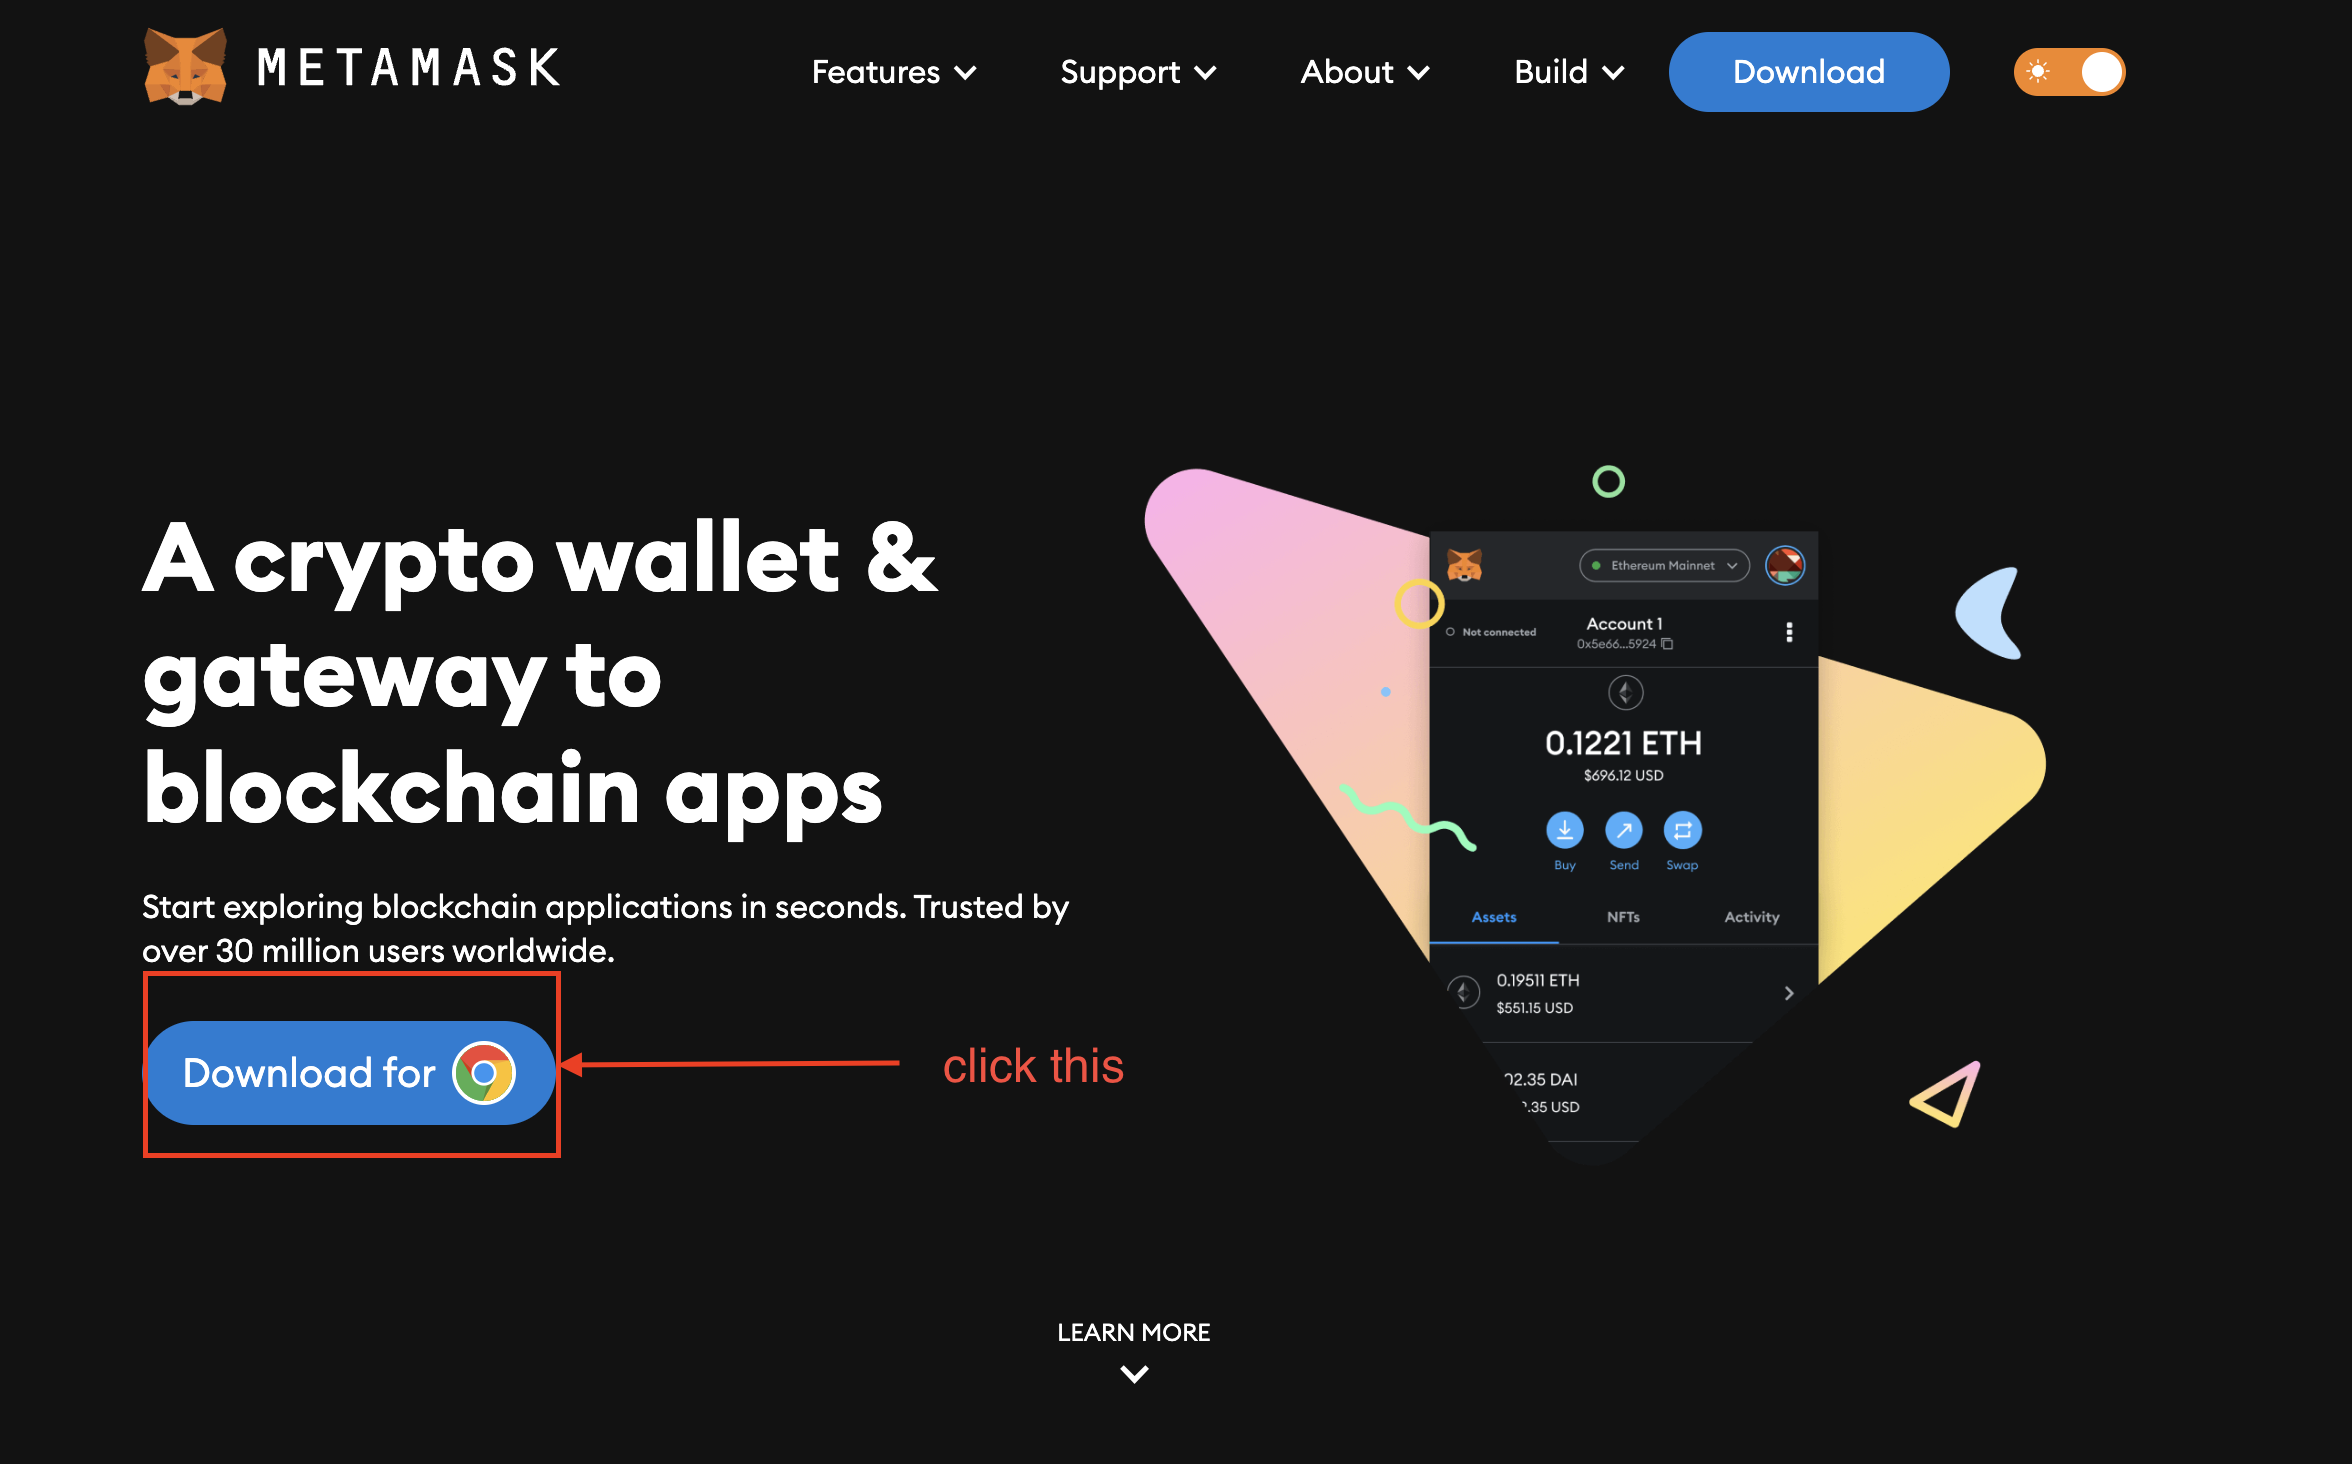
Download MetaMask from here
MetaMask is a Chrome extension so you need to have Chrome installed on your computer.
Follow the installation instructions and create your wallet using mnemonic words.
Keep in mind that you need to save your mnemonic words somewhere safe. If you lose your mnemonic words, you will lose your wallet and all the funds in it.
Check your MetaMask wallet
After you create your wallet, you should see something like this:
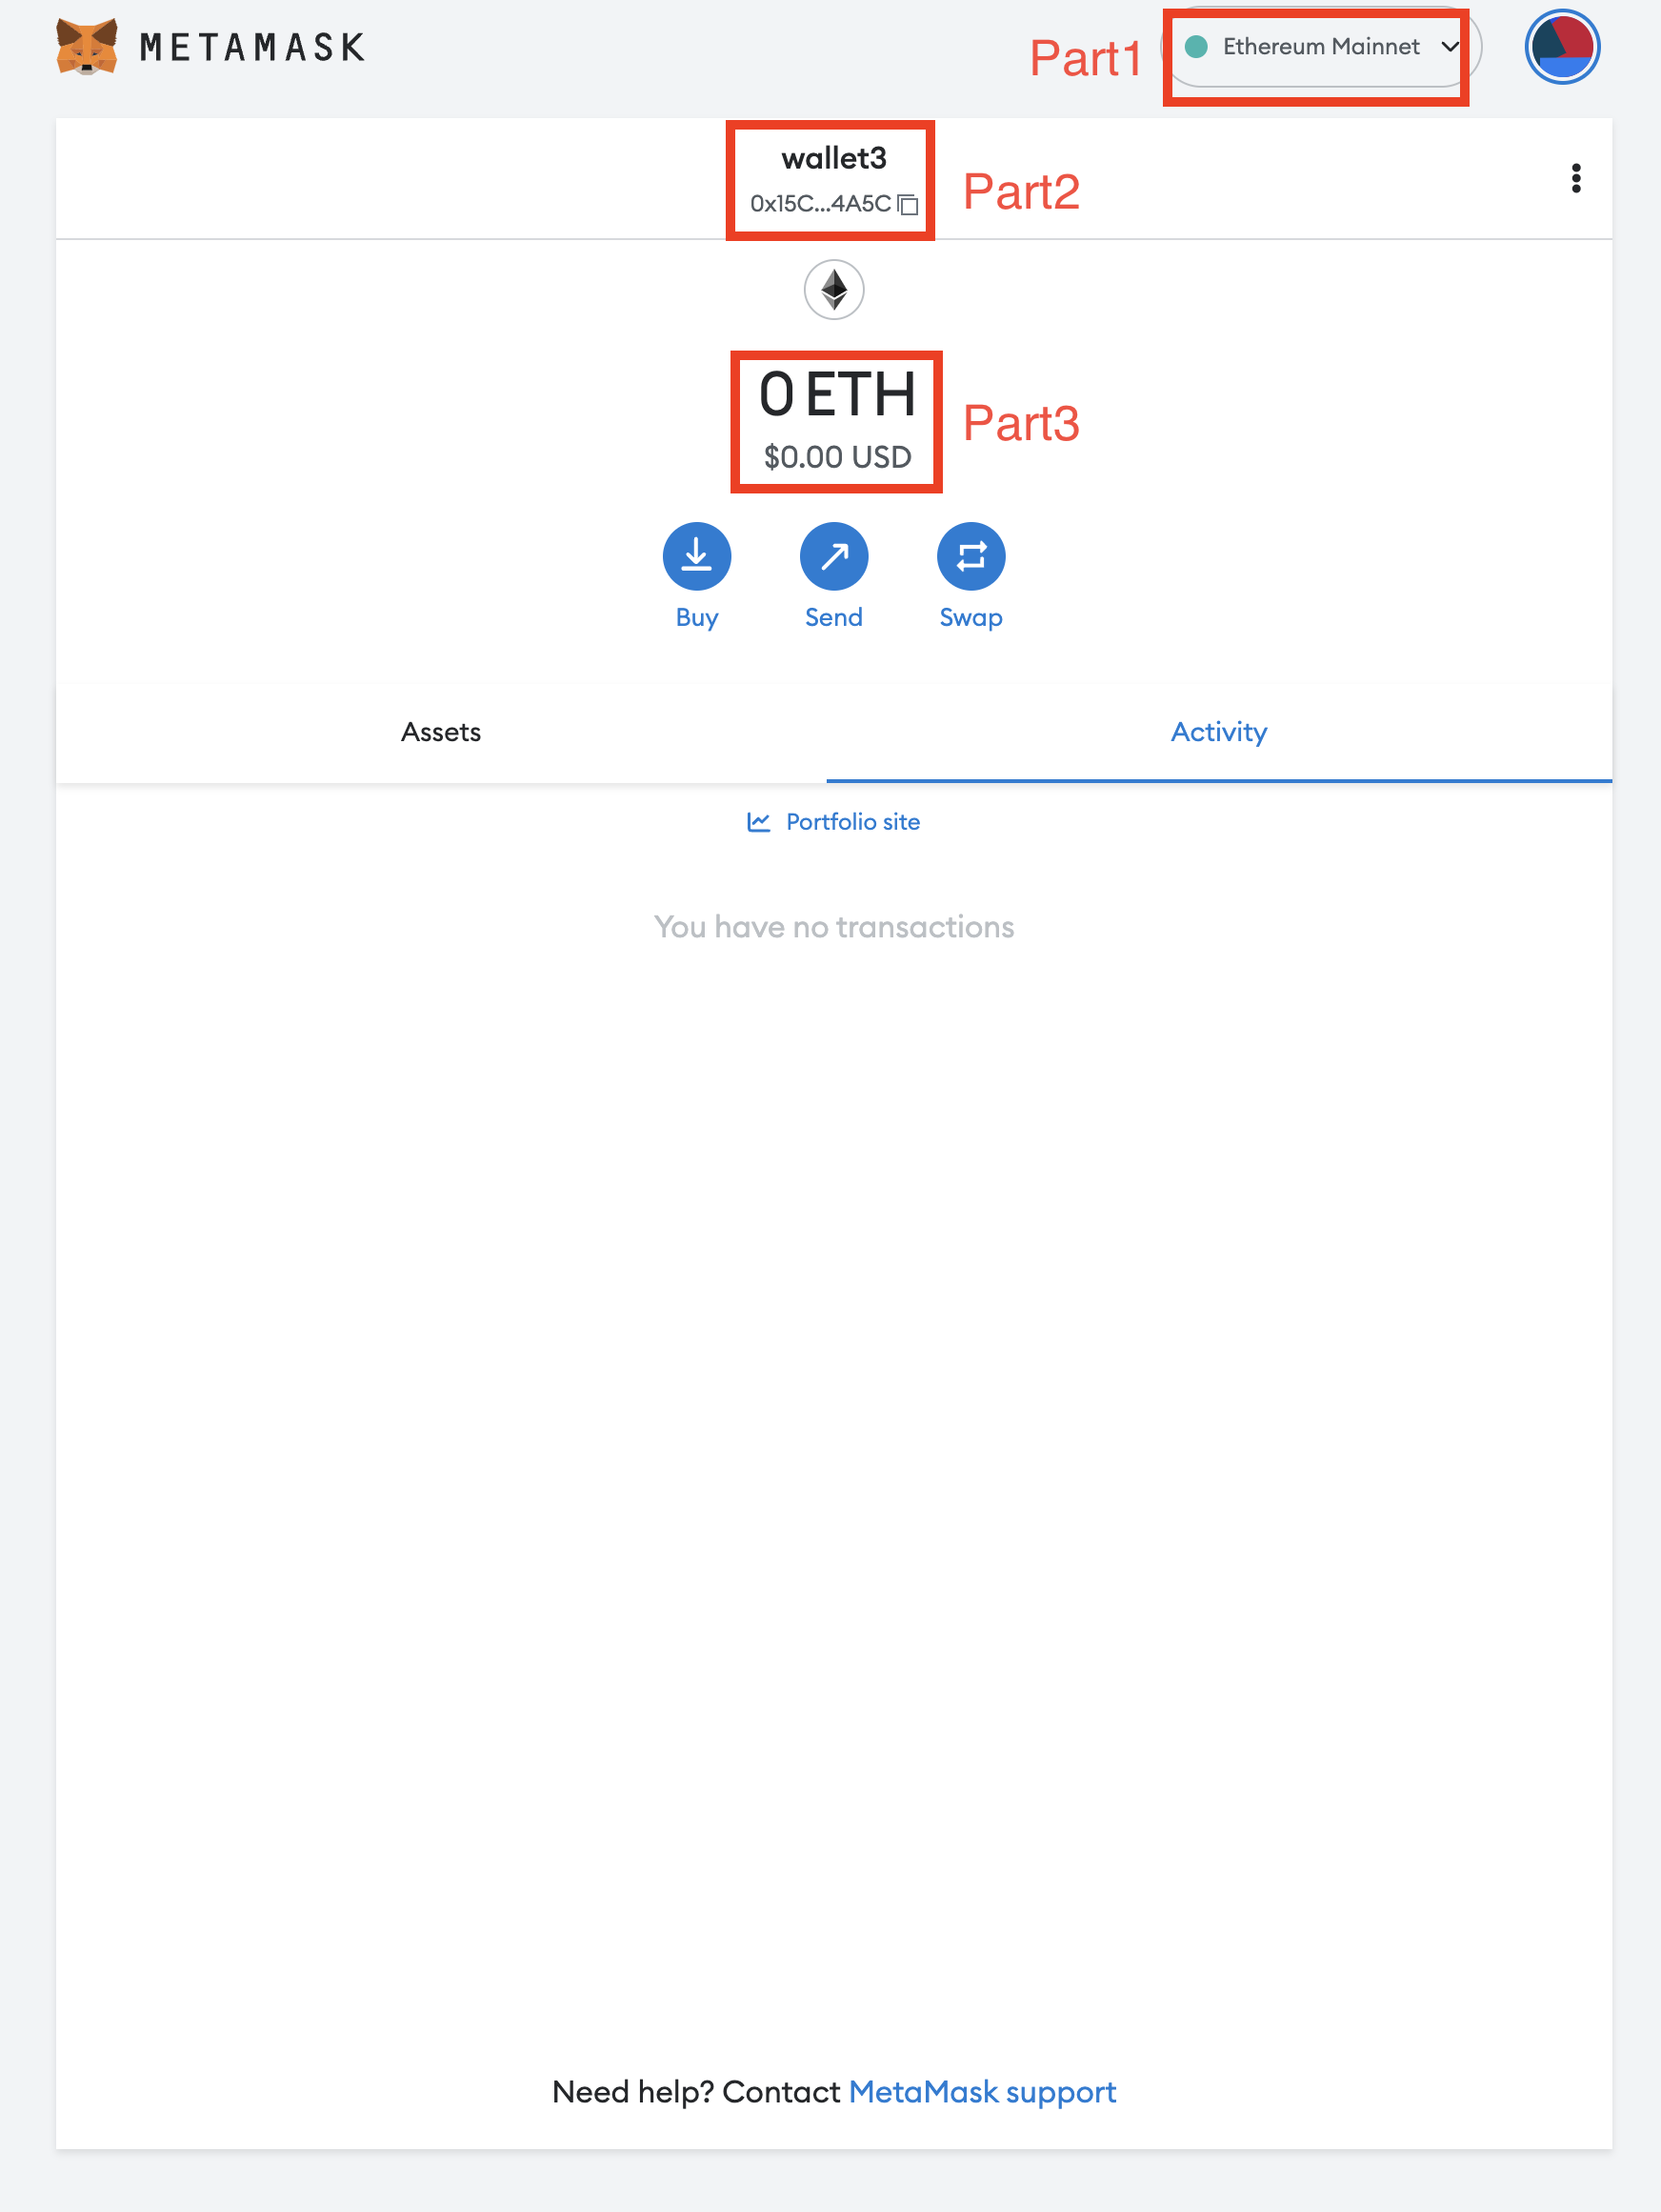
- part1: This is your network menu. You can change it to any network you want.
- part2: This is your Wallet address and you can copy it by clicking on the copy icon.
- part3: This is your balance in Ether.
Creating wallet using ethers.js
Install node.js
You can download any version of the node.js, however, we recommand you use the LTS version.
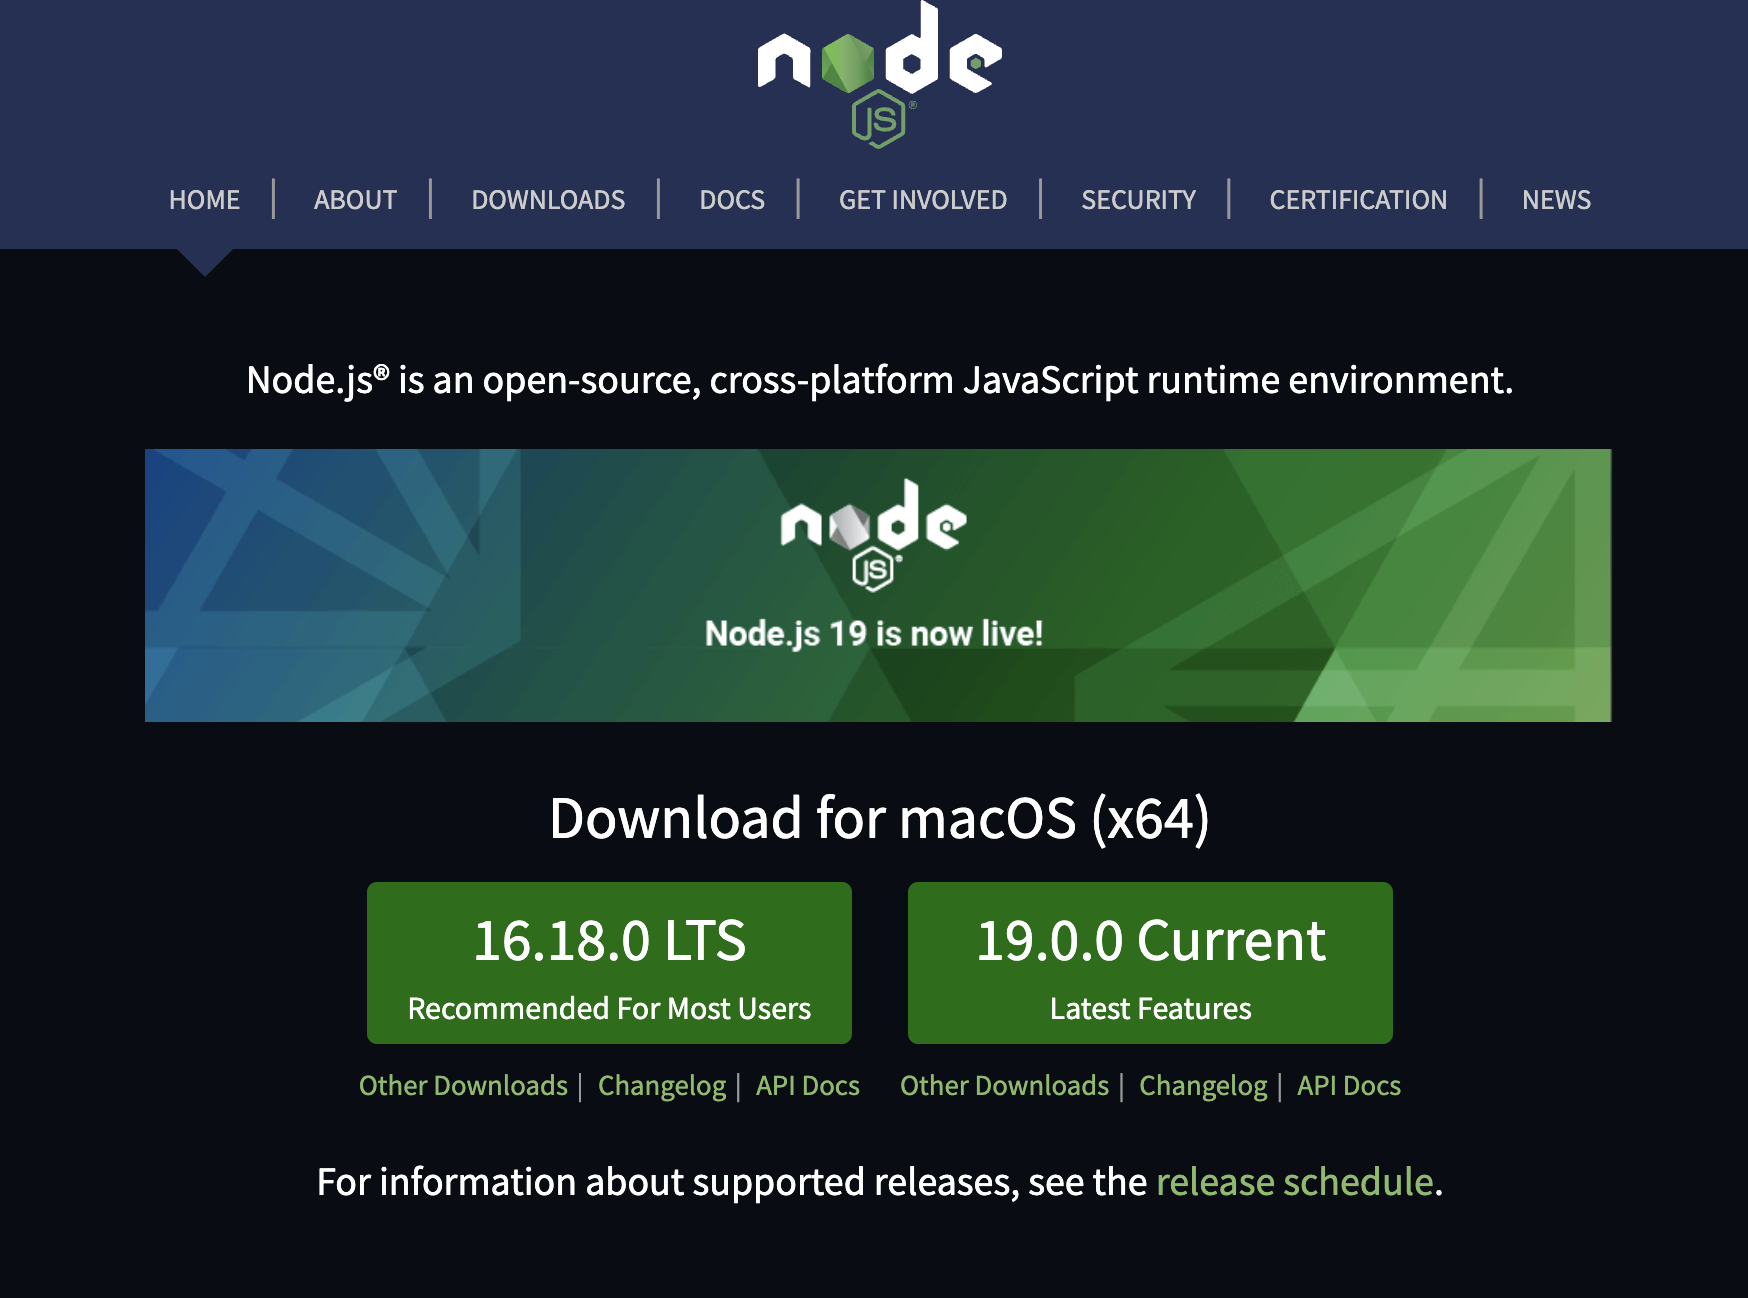
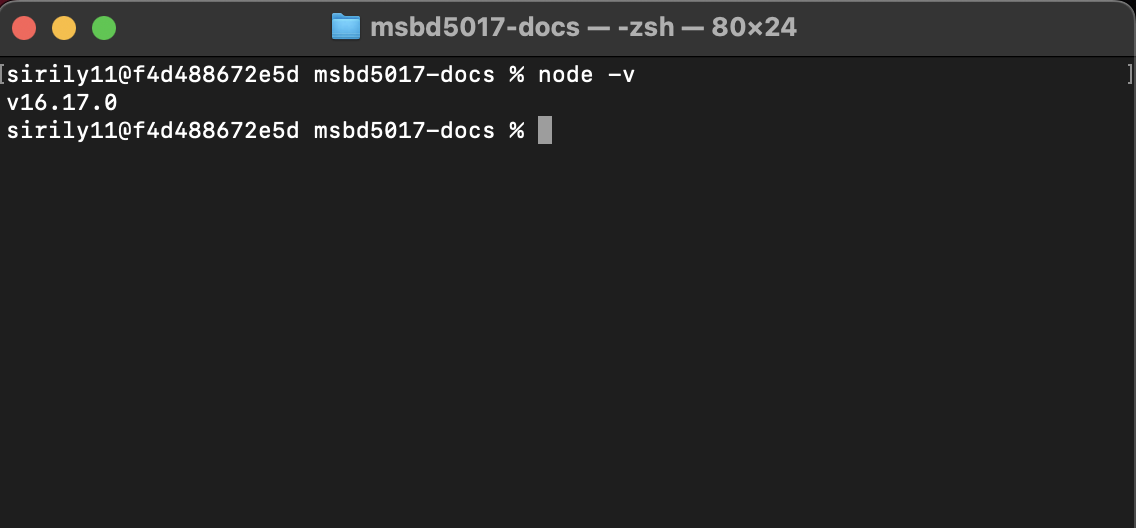
Install node.js and check the installation
Follow the installation instructions and check the installation by running the following command in your terminal:
node -v
Yarn package manager
pnpm package manager
Create a node package
Create a test folder
mkdir test
Change directory to test
cd test
Create a node package
- Npm
- Yarn
- Pnpm
npm init -y
yarn init -y
pnpm init
Now you have have the following folder structure:
test/
├─ package.json
Install ethers.js
- Npm
- Yarn
- Pnpm
npm install ethers
yarn add ethers
pnpm install ethers
Now you have have the following folder structure:
test/
├─ node_modules/
├─ package.json
note that node_modules is the folder where all the packages you install are stored. You should add node_modules to your .gitignore file and never commit it to your repository.
Create a wallet
Create a file called index.ts in your root folder and now you will have the follow folder structure:
test/
├─ node_modules/
├─ package.json
├─ index.ts
Run the following command to install ts-node and typescript:
- Npm
- Yarn
- Pnpm
npm install -D ts-node typescript
yarn add -D ts-node typescript
pnpm install -D ts-node typescript
-D means install dependencies for development
Copy the following code to index.ts:
import { ethers } from "ethers";
const wallet = ethers.Wallet.createRandom();

console.log("Wallet address", wallet.address);
console.log("Wallet private key", wallet.privateKey);
console.log("Wallet mnemonic", wallet.mnemonic);
Run the following command to create your wallet:
- Npm
- Yarn
- Pnpm
npx ts-node index.ts
yarn ts-node index.ts
pnpx ts-node index.ts
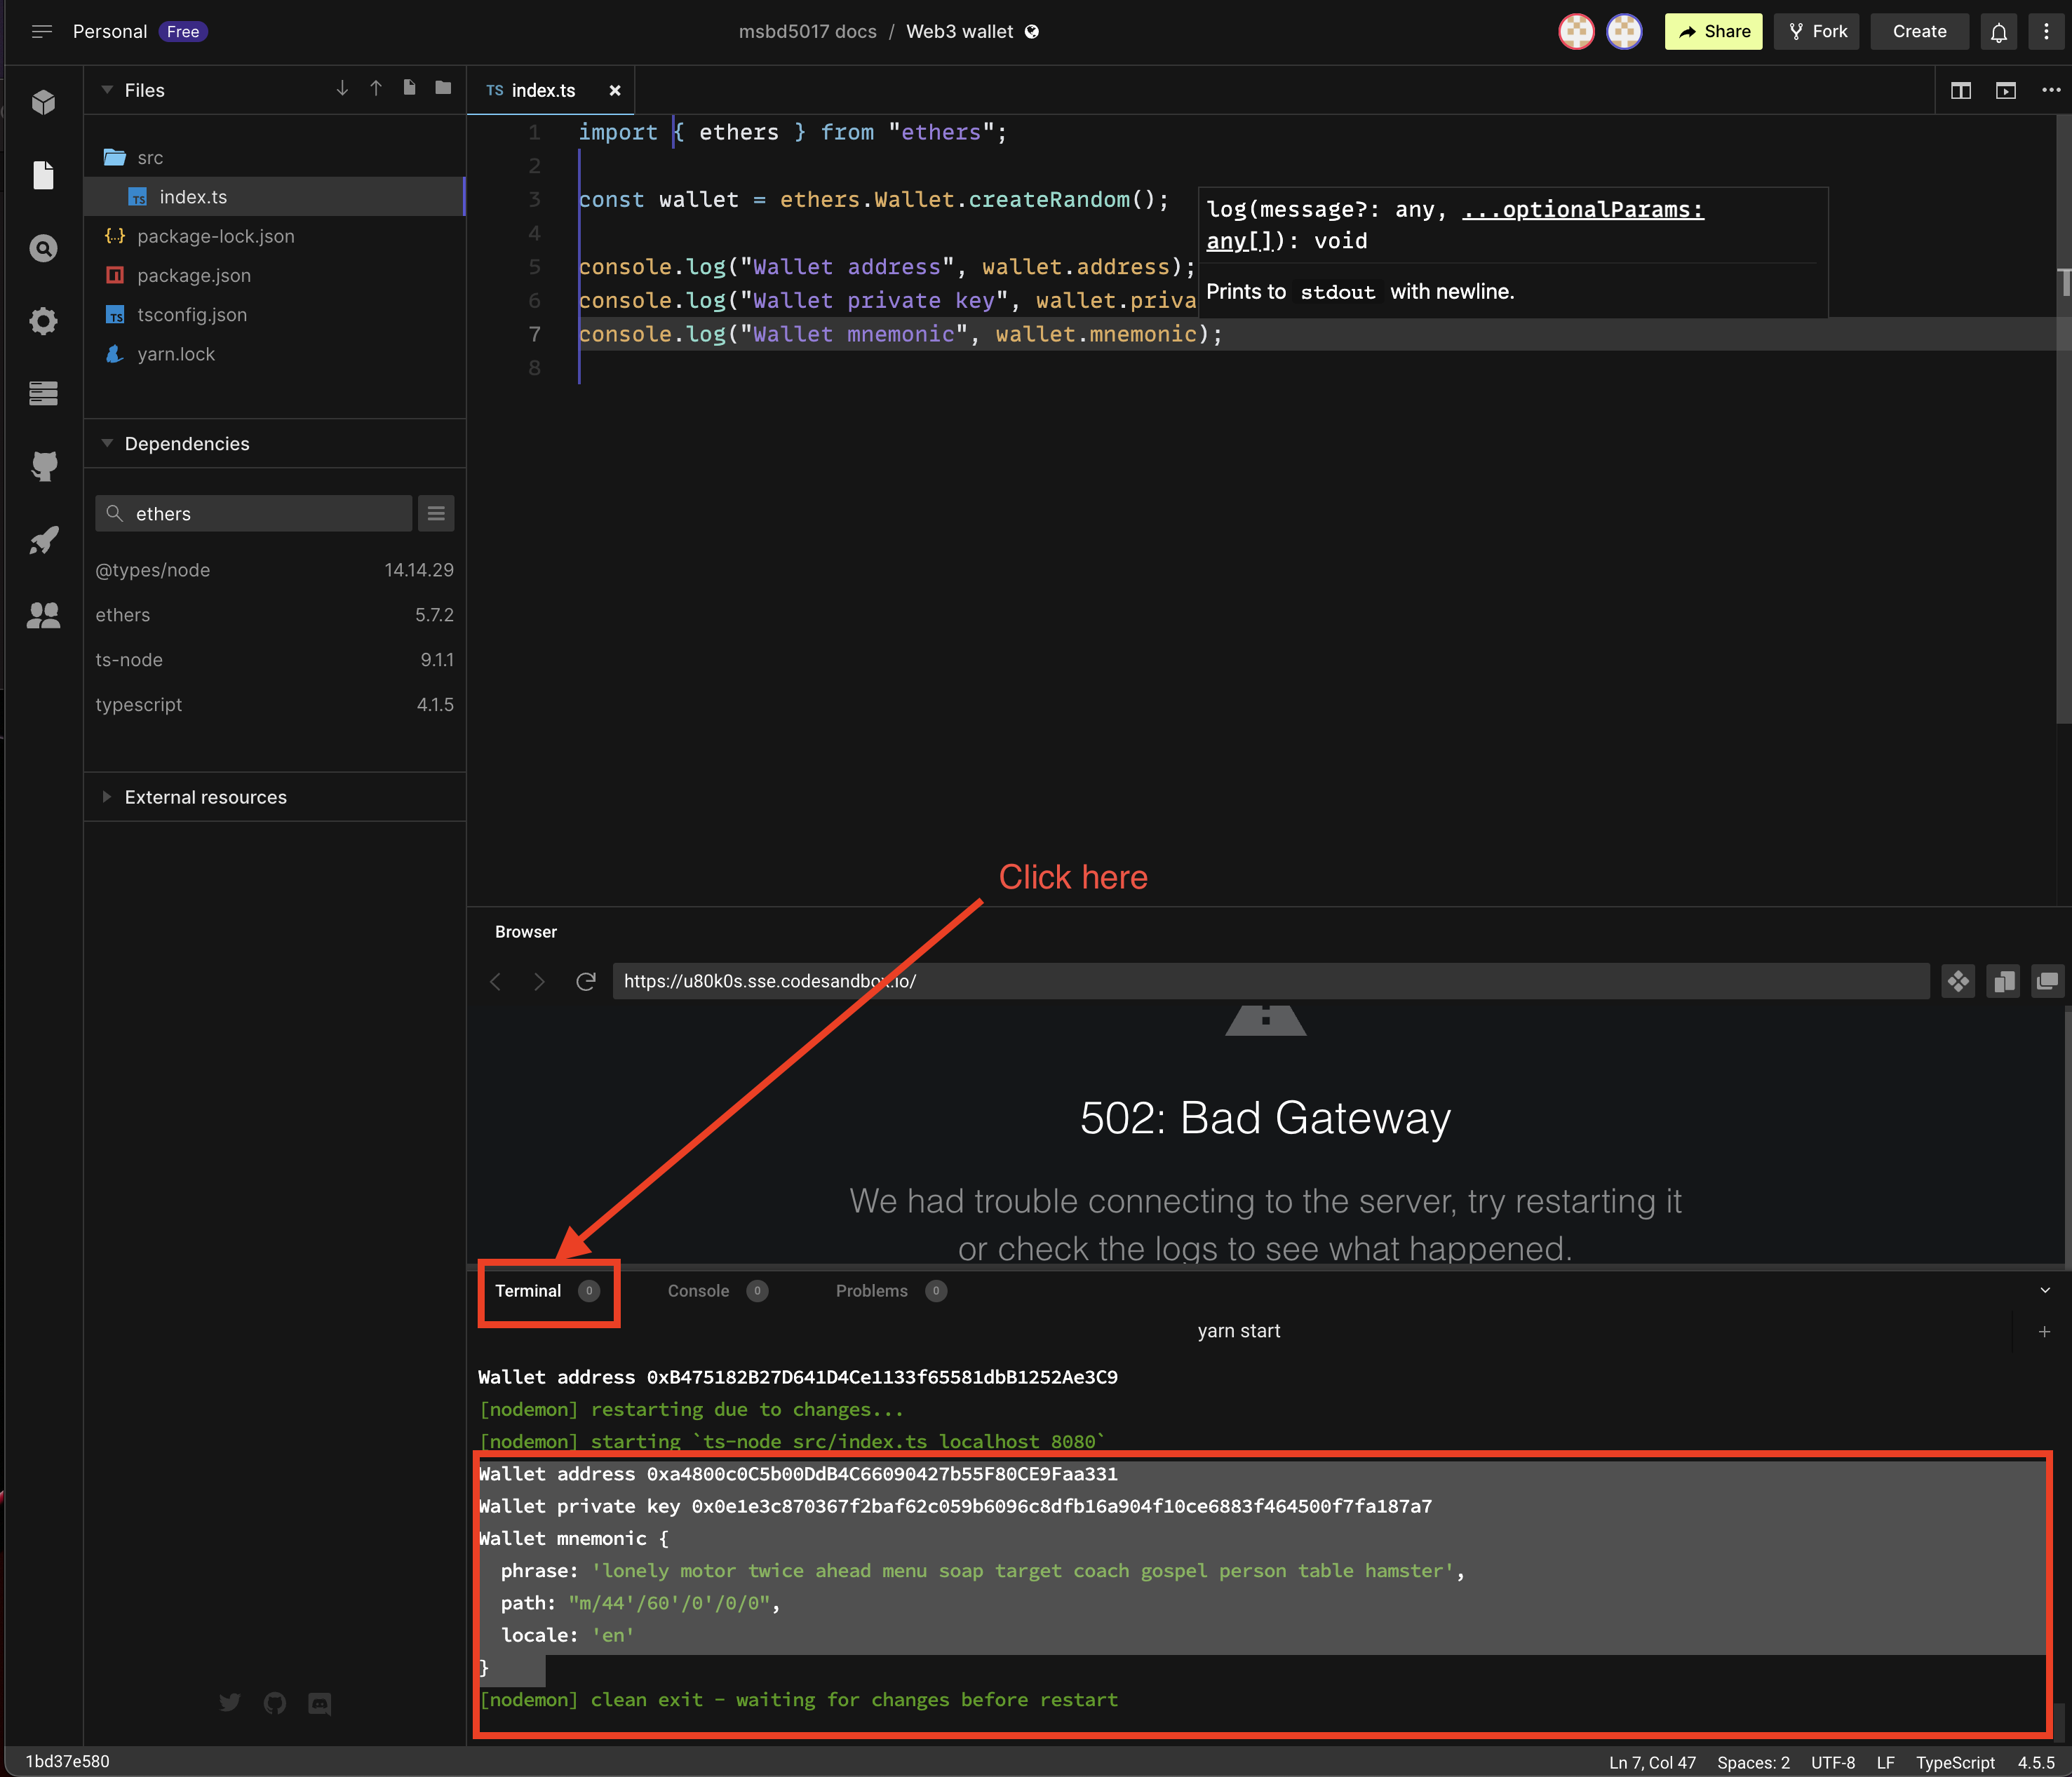
You should see something like this:
Wallet address 0xa4800c0C5b00DdB4C66090427b55F80CE9Faa331
Wallet private key 0x0e1e3c870367f2baf62c059b6096c8dfb16a904f10ce6883f464500f7fa187a7
Wallet mnemonic {
  phrase: 'lonely motor twice ahead menu soap target coach gospel person table hamster',
  path: "m/44'/60'/0'/0/0",
  locale: 'en'
}
You can download the complete code for this section here
Run the above example in codesandbox
You can need to open the following code in codesandbox in order to see the output:
Output in CodeSandbox